JOIN US FOR THE NEWEST LED LIGHTS IN MARKET
Enter your email below to get 10% off your first order

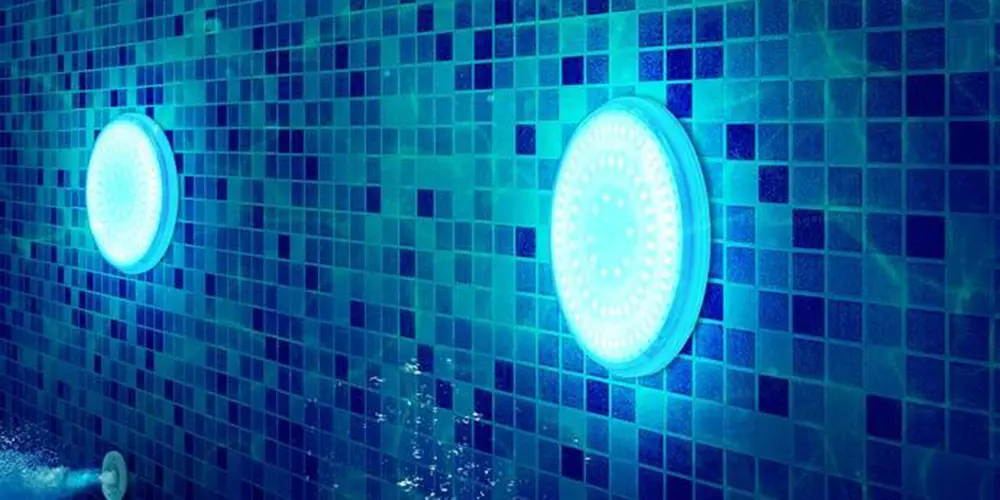
Installing submersible lights in your pool can add a touch of elegance and ambiance to your backyard oasis. Not only do they look beautiful, but they also increase the safety and functionality of your pool by providing visibility at night. In this blog post, we will go over the steps to attach submersible lights to your pool and the different options available to you.
Step 1: Determine the type of submersible lights you need
The first step in attaching submersible lights to your pool is to determine the type of lights you need. There are several different options available, including:

Step 2: Measure the pool
Before you purchase your lights, you will need to measure your pool to determine the number and type of fixtures you need. Measure the length, width, and depth of your pool and consult with the manufacturer to determine the number of lights required.
Step 3: Choose the location for the lights
Once you have determined the number of lights you need, you will need to choose the location for the lights. Submersible lights can be installed in the wall of the pool, on the floor of the pool, or in the pool steps. Consider factors such as the location of the electrical panel and the overall aesthetic of your pool when choosing the location for the lights.

Step 4: Gather the necessary tools and materials
Before you begin the installation process, gather all of the necessary tools and materials. You will need:
Step 5: Install the lights
Once you have all of your tools and materials, you can begin the installation process. Here are the general steps for installing submersible lights:

Step 6: Maintain the lights
Once the installation process is complete, it is important to maintain your lights in order to ensure they last as long as possible. This includes:
In conclusion, attaching submersible lights to your pool can be a DIY project, but it’s advisable to hire a professional electrician to ensure the safety and longevity of the lighting installation. There are many different options available when it comes to submersible lights, so take the time to research and choose the option that best suits your needs and budget
$99.00 Original price was: $99.00.$79.00Current price is: $79.00.
$199.00 Original price was: $199.00.$99.00Current price is: $99.00.
$1,299.00 Original price was: $1,299.00.$1,189.00Current price is: $1,189.00.
$299.00 Original price was: $299.00.$279.00Current price is: $279.00.
$299.00 Original price was: $299.00.$279.00Current price is: $279.00.
$299.00 Original price was: $299.00.$259.00Current price is: $259.00.
$499.00 Original price was: $499.00.$399.00Current price is: $399.00.
$299.00 Original price was: $299.00.$189.00Current price is: $189.00.
$299.00 Original price was: $299.00.$259.00Current price is: $259.00.
$199.00 Original price was: $199.00.$119.00Current price is: $119.00.
$699.00 Original price was: $699.00.$239.00Current price is: $239.00.
$699.00 Original price was: $699.00.$389.00Current price is: $389.00.